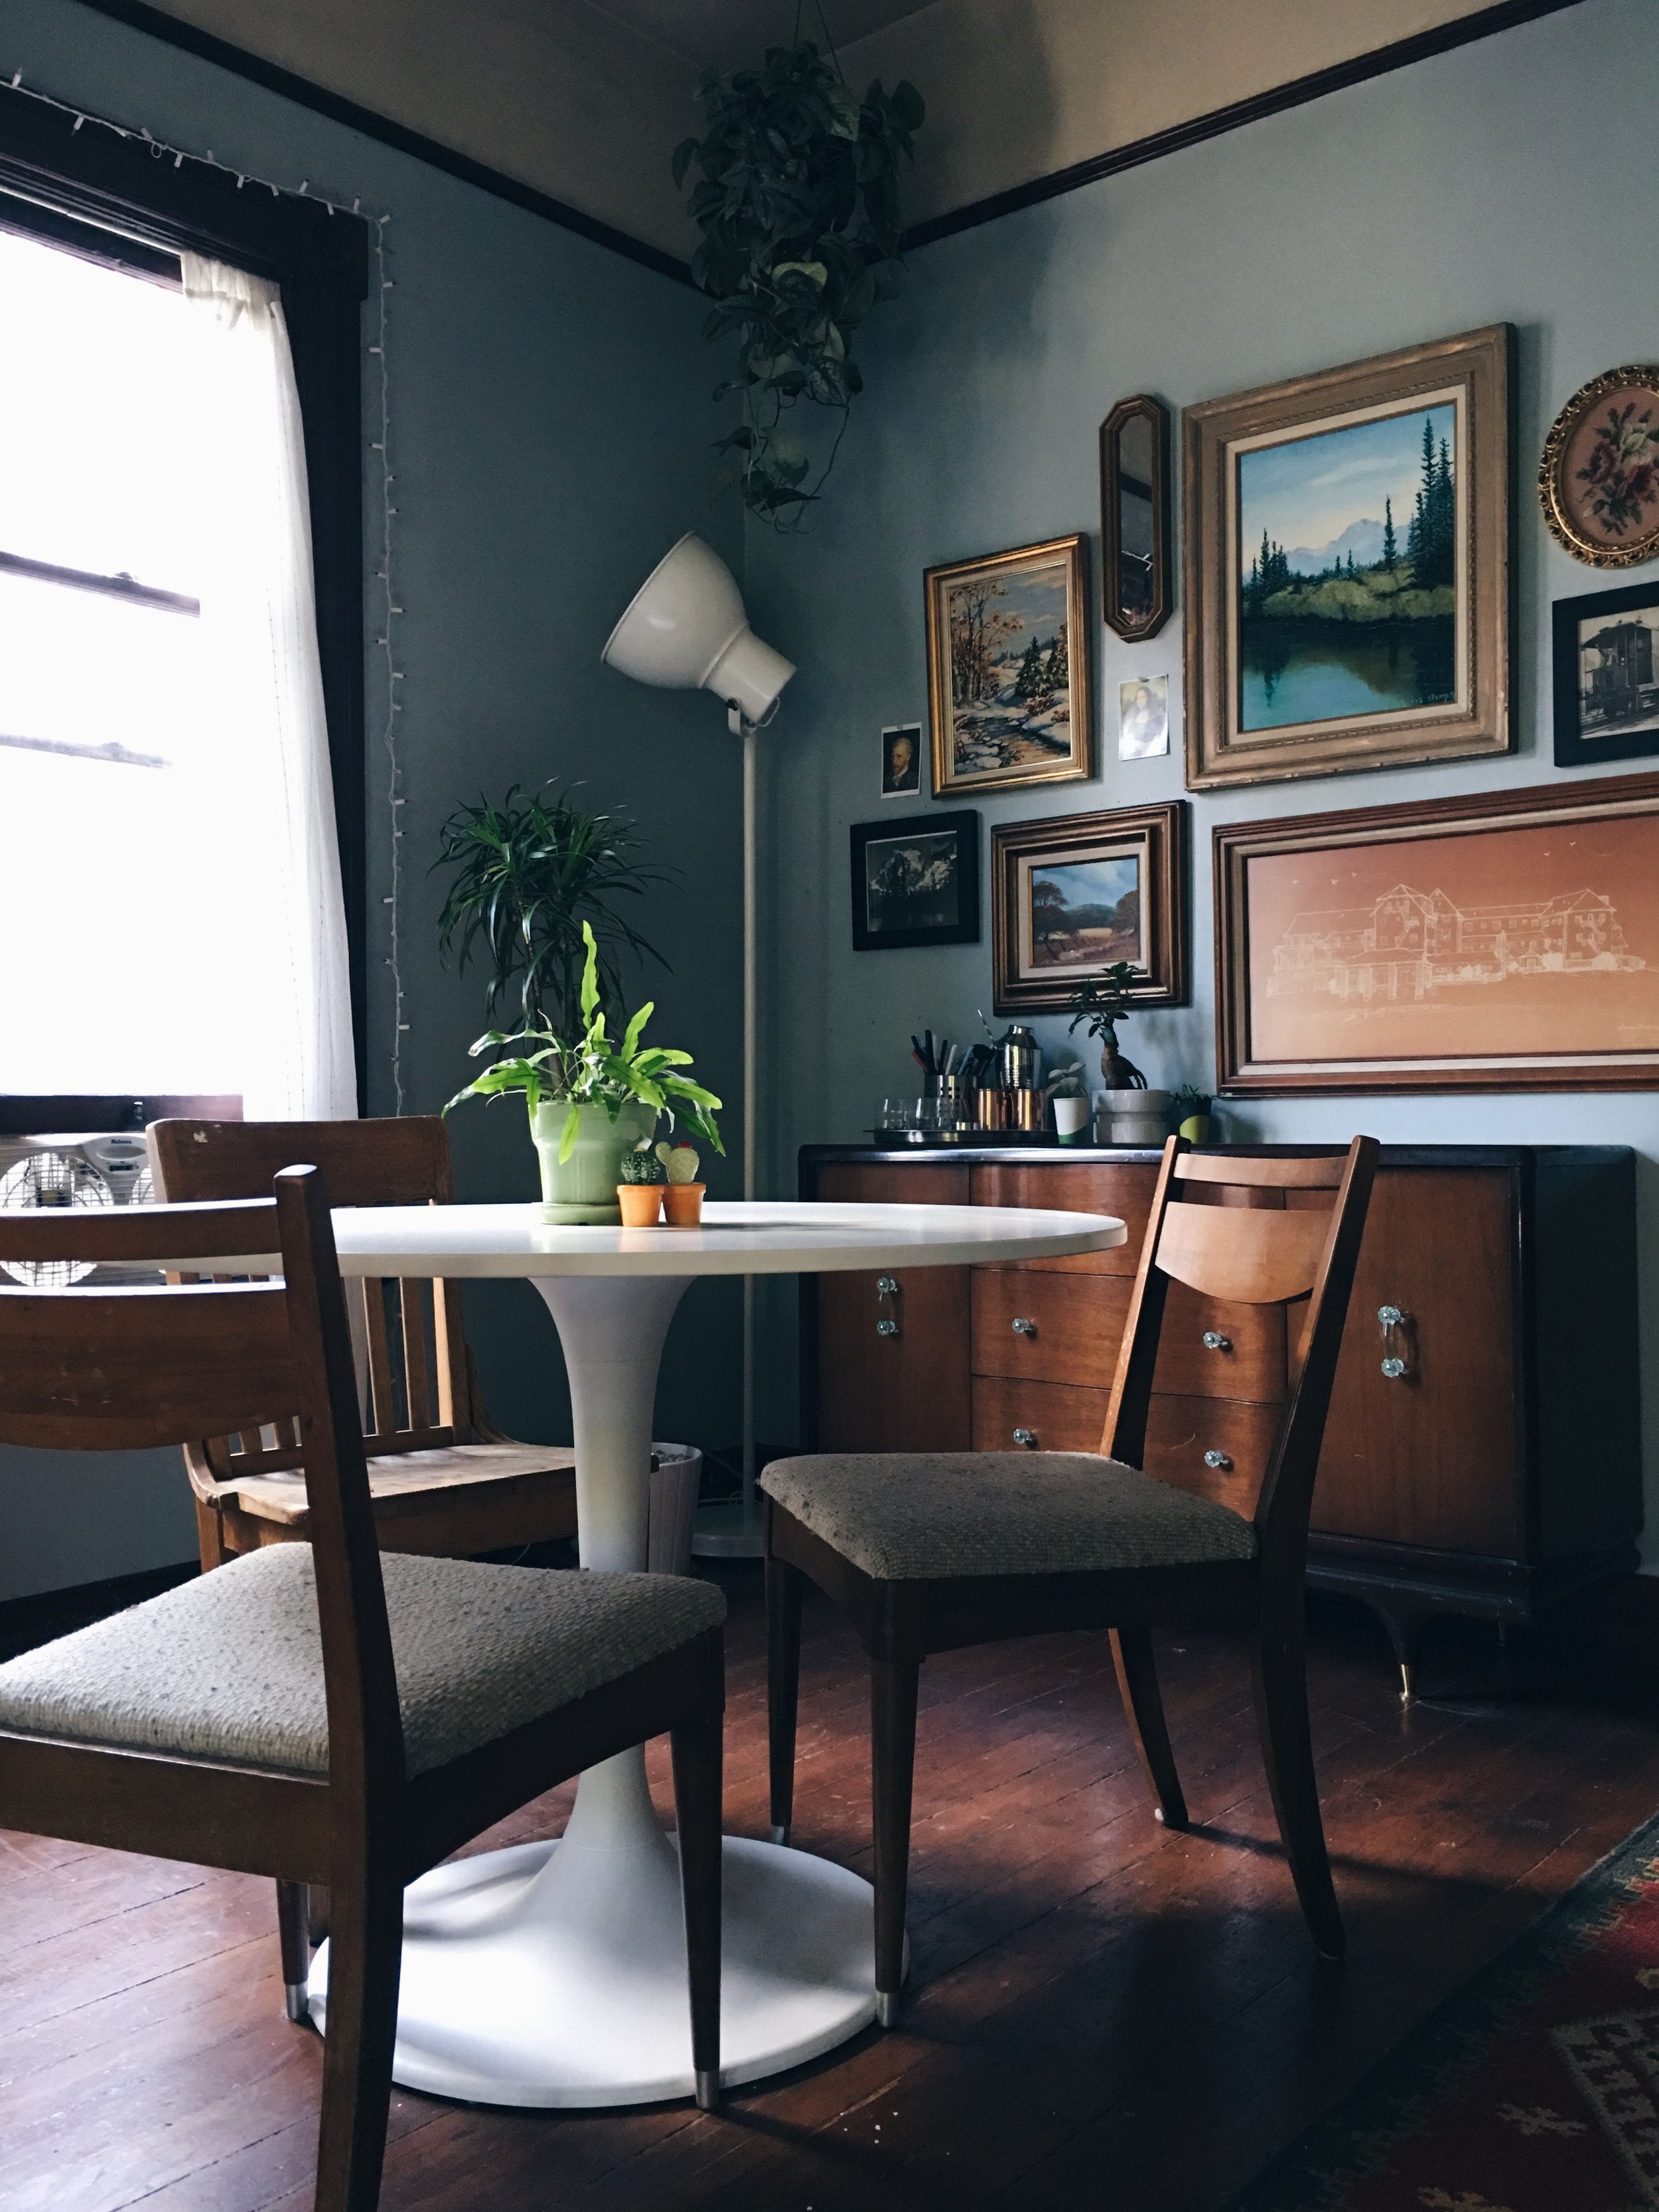
Life in Portland Blog

Urban Nest Design Tip of the Week: Pet Hair Solutions for Wool Rugs

Easily Remove Pet Hair From Wool Rugs With One Simple Tool

In this series, we share simple DIY solutions for maximum design impact, brought to you by our very own Agent Andy Barlow.


I want to talk about flat-woven wool rugs this week. I love flat-woven and Kilim rugs, and they are a really popular choice in design right now. However, for those who own one and have pets, you may have noticed just how much they seem to act as a magnet to pet hair. Well, worry no more because I have the solution! 

Meet the Cotton Picker: Strings Attached mitten. My mom actually gifted me one of these a while back and I had no clue why, or what to do with it. But then, after purchasing a flat-woven wool rug and getting frustrated by how quickly all the cat hair was sticking to it, and how unsuccessful vacuuming or lint-rolling was working, I decided to try out mom’s gift. 

My first reaction: HOLY SMOKES! My rug was looking brand new again! All you have to do is put on the mitten and rub it over the rug in circular motions and it literally grabs all the hair like magic. This little mitten is a game-changer when it comes to owning a Kilim rug - gets it looking brand new and causes no damage! And the best part, they are only about $5 and last for about a year. They also work well on other fabricated furniture, so pet hair be gone! Thanks mom! 

Check out the before and after photos below. 

BEFORE

BEFORE

AFTER

AFTER

Design tip bonus: This rug is the Pradeep Flatweave Wool Rug from World Market. This is a beautiful rug, and isn’t outrageously expensive. My favorite is the runner (sized 2.5’ x 10’), perfect for a hallway, and costs just $169. 

Urban Nest's Design Tip of the Week is written by our own Agent Andy Barlow. He divides his time between real estate and interior design, meaning that he can help you buy a house and decorate it too. Ready to take the leap into a more comfortable space for you and your family? Get in touch with Andy here

Urban Nest Design Tip of the Week: The DOCKSTA

A Versatile and Stylish Kitchen Table That Won't Break the Bank

In this series, we share simple DIY solutions for maximum design impact, brought to you by our very own Agent Andy Barlow.


This week we’re going back to IKEA to get the DOCKSTA table. This has long been one of my favorite IKEA items, and when I recently decided I needed a new dining table, it was no surprise this is what I brought home. 

What I love about this table: 

- It’s extremely versatile when it comes to pairing it with chairs. Go modern, go midcentury, go vintage, go mix and match! And because it’s all white, you could bring in pops of color with the chairs, or go all white to make for a really clean aesthetic. My favorite pairing with this table is a wood chair - the wood brings some contrast and warmth against the white coolness of the table. 

- The size. With a diameter of 41 inches, it’s the perfect table to sit 3-4 people, and because it’s round, it fits more easily into small spaces. This is a great table for a breakfast nook.

- The white top brightens up your space and makes your dishes and food pop! Make any meal Instagram-worthy with this table as your backdrop.

- It’s affordable! For $179 (and sometimes 10% cheaper if you’re an IKEA Family Member) it’s less than half the price of other tulip tables, much larger, and doesn’t look cheap. For those millennials who are trying to break free from IKEA as you reach adulthood: reconsider this table as an exception! 

Head over to IKEA and take a closer look (and add it to your cart) here. 

For more DOCKSTA inspiration check out these on Pinterest.

Urban Nest's Design Tip of the Week is written by our own Agent Andy Barlow. He divides his time between real estate and interior design, meaning that he can help you buy a house and decorate it, too. Ready to take the leap into a more comfortable space for you and your family? Get in touch with Andy here.

Urban Nest Design Tip of the Week: MetroPaint

Where to Find Affordable and Environmentally Conscious Latex Paint in PDX

In this series, we share simple DIY solutions for maximum design impact, brought to you by our very own Agent Andy Barlow.


This week I wanted to share a tip about paint. We all know that paint can be the biggest, most cost effective way to completely change the feel and look of a space. But what you might not know is that there is an even more affordable way to paint your spaces in Portland - MetroPaint! 

You may know Metro as the place where you take all your hazardous wastes, but one thing that many don’t know is that they collect all the latex paint that people dump and recycle it into new paint that comes in a variety of colors. MetroPaint is useable for both indoor and outdoor, and comes with a five-year warranty. 

The best part? Besides keeping chemicals out of landfills, this paint is only $13 per gallon!! Yes, you heard that right - $13!!! 

Learn more about MetroPaint, how it’s made, and where to buy by clicking here. Now go paint some walls!  

Photos courtesy of MetroPaint. 

Urban Nest's Design Tip of the Week is written by our own Agent Andy Barlow. He divides his time between real estate and interior design, meaning that he can help you buy a house and decorate it too. Ready to take the leap into a more comfortable space for you and your family? Get in touch with Andy here.

Urban Nest Design Tip of the Week: Open Shelving Made Easy

Stylish Open Shelving Made Easy (With a Little Help From IKEA!)

In this series, we share simple DIY solutions for maximum design impact, brought to you by our very own Agent Andy Barlow.


Have you ever looked at pictures of open shelving on Pinterest or in a design magazine and knew that you wanted some, but didn’t know how to start or how much it might cost you? Well, if so, then here is an easy way to have your own for just $20 per shelf! (and yes, this means you’re heading to IKEA!)

The mix-and-match shelves at IKEA are seriously the easiest and cheapest way to get open shelves in your own home, and if your budget is really tight, you could find even cheaper options there than the $20 ones I got. (Not in love with the brackets and want something a bit more unique? Spray paint the brackets gold or any other color to create a pop of fun). 

The next step is making sure they are secure on the wall, so head to the nearest hardware store (take a bracket with you) and find some anchors and screws that will fit. This shouldn't cost you more than a few dollars. 

Once you get the shelves up, the fun part begins - decorating! You can put open shelves in literally any room. Not only do they add depth to the wall, they add style and storage, which is especially useful for smaller spaces. See below for some different room ideas. 

Living room or bedroom: Add your favorite books, plants, photos, and tchotchkes. Feel free to hang small pieces of art within the shelves to add even more dimension. 

Kitchen or dining room: Add your plates, glasses, mugs and more! Open shelving gives you the chance to curate and display your dishes instead of just hiding them away.

OR, use the open shelves to create a bar space!

Any room: Turn them into an indoor garden! This is especially useful for cat owners who feel they can’t have plants because the cat always eats them… though I’ll never put it past a determined cat to find a way to anything. 

Take a look at the IKEA options here. 

Urban Nest's Design Tip of the Week is written by our own Agent Andy Barlow. He divides his time between real estate and interior design, meaning that he can help you buy a house and decorate it too. Ready to take the leap into a more comfortable space for you and your family? Get in touch with Andy here