Urban Nest DIY: Painting Vinyl Floors
It’s been awhile since we posted any home tips and do-it-yourself projects, but here is a good one I recently completed in my own home that I thought others might be interested in. We are in the process of fixing up our finished basement to make it feel more cohesive with the rest of the house, and since we blew our budget on new floors for the main living area and bedroom, I thought I could tackle the bathroom myself! The bathroom has some pretty horrible vinyl flooring which I had previously been very careless about getting paint on when used as a staging room for other projects. I had been dying to try painting a floor, and this was the first opportunity I had…and it was a great success!

Here is what you will need:
- Vinyl Floor Paint. I used white, but these can be tinted to be any color you like.
- Brushes and rollers you don’t mind throwing out after one use
- TSP Cleaner
- Painters tape
- Sandpaper
- A clear water based polyurethane sealer
- Disposable mask
Step 1: Give the floor a good sanding. This will allow the vinyl paint to adhere better to the floor.
Step 2: Clean the floor really well. I used a TSP cleaner, but if you have sanded, you could get away with a normal household cleaner.
Step 3: Once the floor is clean and dry (and free of rouge basement spiders!), you will want to apply your first layer of paint. I didn’t use a primer since this vinyl paint is very thick and acts as a self primer for the most part. It is also puts off a lot of fumes, so if you’re working in a basement like me, I suggest wearing a mask for this one.

Start by edging the room with a brush. Once I started applying the stark white paint, the old rubber baseboard started looking pretty dingy so I painted that as well. This paint is very thick and sticky, so unless you have the patience to clean the brush out, I suggest throwing the brush away once you have finished your first layer. Then use a roller and paint the remainder of the floor. Let it dry overnight and apply a second layer. If you aren’t planning on adding any sort of design or other colors to the floor…then you’re done! Otherwise move onto the next step.

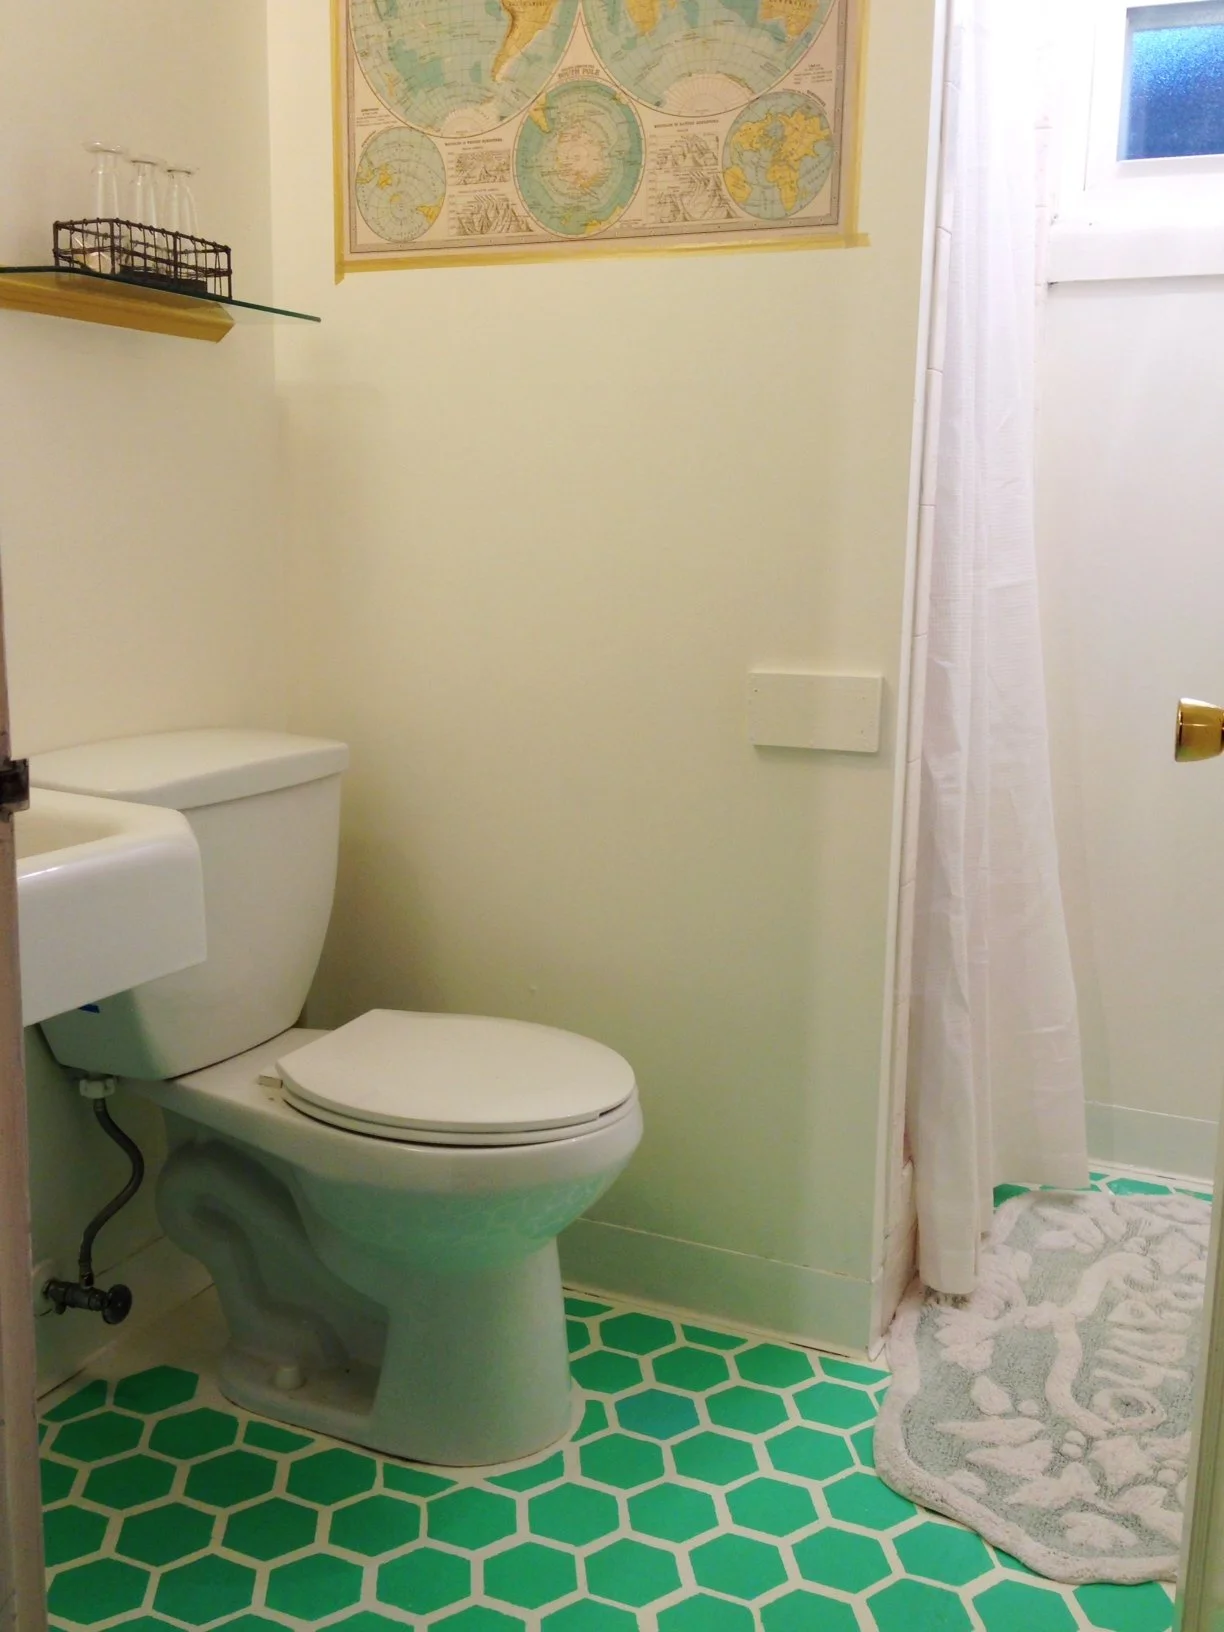
Step 4: My house is a sweet little 1940′s Cape Code, so I wanted to emulate a floor that was similar in color and tile shape to that of real bathroom tile work from that era. Stenciling is never easy, but Ed Roth has some wonderful decor stencils which help make the planning process a bit easier. I used a hex tile stencil from his Stencil 101 Decor book. After mapping out the whole floor, I started painting! I tested out a few different shades of green and decided I liked the look of keeping a few of the tiles in a different color as is seen sometimes on real tile work. For the tiles I used a regular latex semi-gloss interior paint.

Step 5: A painstaking week later, the stenciling was done! The latex paint on the stenciling it delicate, so I topped it off with a couple coats of a water based polyurethane glossy sealant to protect it.
This was a fun project and I actually plan to paint over my old asbestos tiling in the laundry room next! Here are some other great ideas for floor painting if you think you might give it a go.